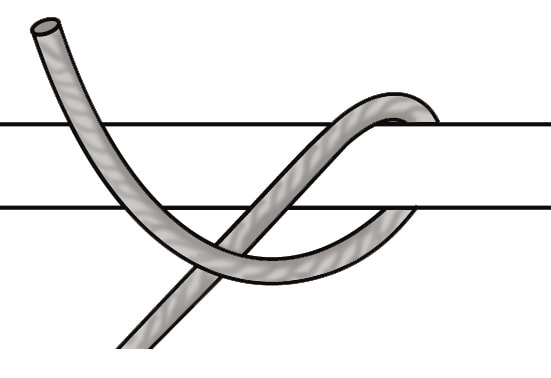
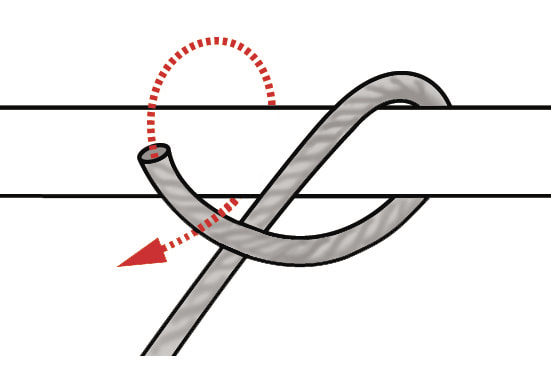
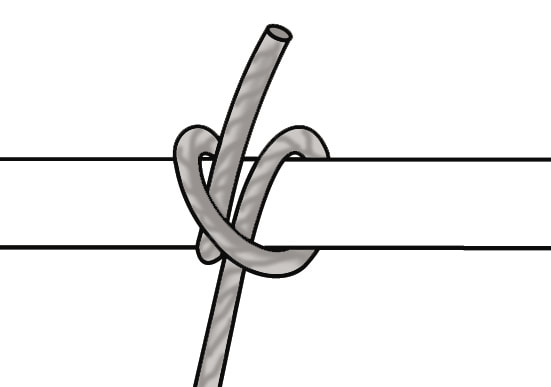
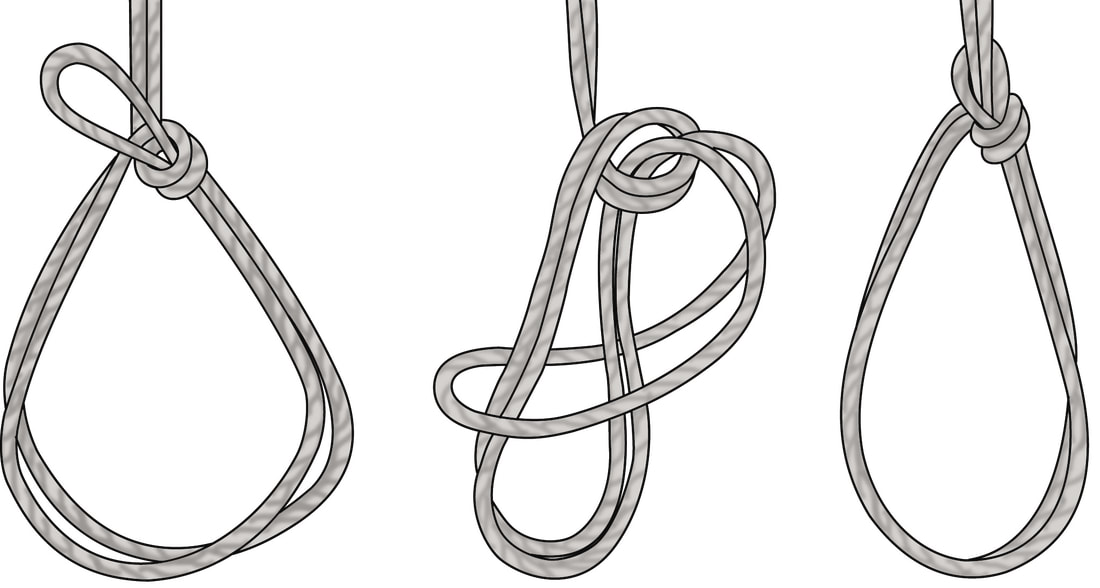
Clove HitchThe clove hitch is used to attached a line to a pole, bar or rail that will not turn and/or used to tie a restraint line to load. It's often used as a tie-off or jamming hitch. To tie a clove hitch knot, start by wrapping the rope around the object you want to tie it to. Then, cross the rope over itself and wrap it around the object again. Finally, tuck the rope under the second wrap and tighten the knot. |
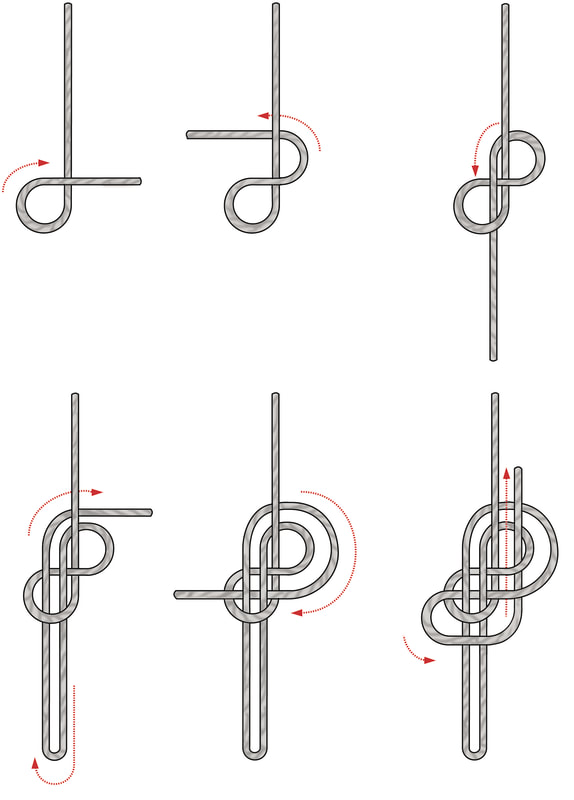
Double Figure of 8The double figure of eight knot provides a secure attachment only when a double figure is tied. Under no circumstances should a single figure eight knot be used to secure a restraint line to a load. To tie a double figure of 8 knot, begin by making a loop in the end of the rope, then bring the end of the rope around and pass it through the loop twice. Next, bring the end of the rope back up through the first loop you made, and then down through the second loop. Finally, tighten the knot by pulling on both ends of the rope. |
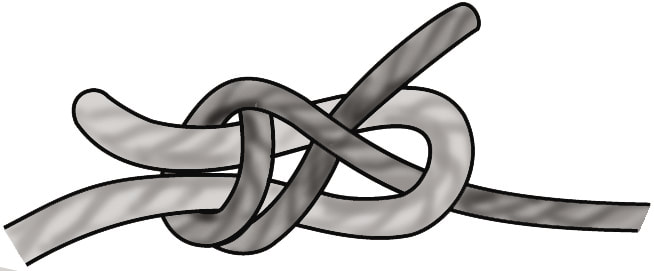
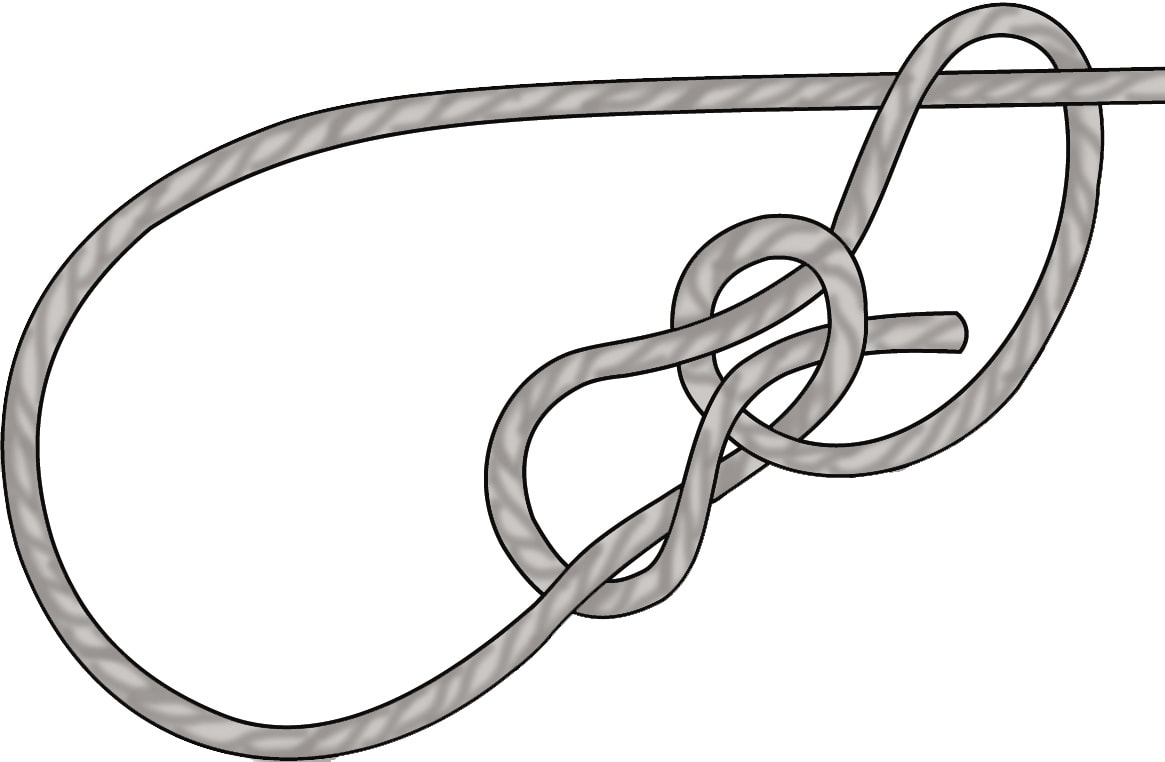
Sheet BendThe sheet bend is used to join two ropes of unequal diameter together. In the rope with grater diameter (the lighter shaded rope in the illustration following) and eye is formed and the rope to be attached (the darker shaded rope in the illustration). To tie a sheet bend knot, begin by making a bight (a loop) in the end of one rope, and pass the end of the other rope through the bight from underneath. Next, bring the end of the second rope around the back of the bight and tuck it under itself before passing it back through the bight. Finally, tighten the knot by pulling on both ends of the ropes. The sheet bend knot is commonly used to join two ropes of different sizes or materials together, and is especially useful when the ropes are of unequal thickness. |
Bowline
The bowline is one of the most versatile knots. It is used to form a ‘soft eye’ at the end of the rope. It is easy to tie, never slips, and is easy to untie. There are 3 types of Bowline knot variations:
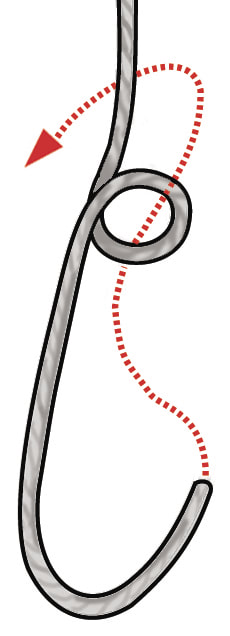
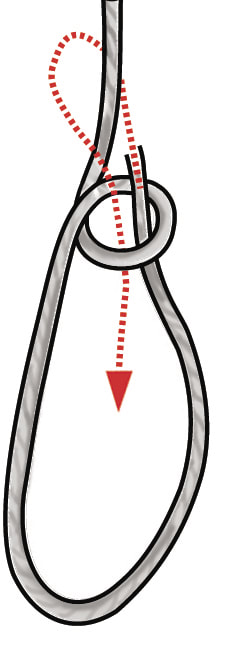
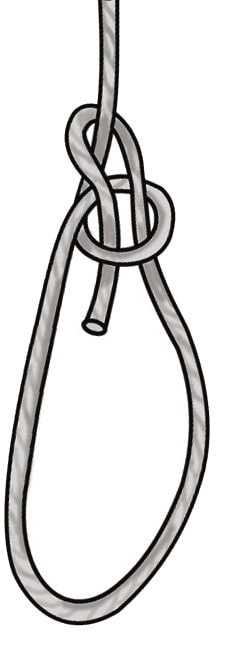
Standard BowlineTo tie a standard bowline knot, start by forming a small loop with the rope in your left hand, with the tail of the rope on the bottom and the working end on the top. Next, take the working end of the rope and pass it up through the loop, then back down behind the loop and finally up through the loop again. Finally, tighten the knot by pulling on the working end while holding the standing part of the rope. |
Bowline-on-the-BightThis is a more complex but very effective variation of the bowline. To tie a bowline-on-the-bight knot, start by forming a bight (a U-shaped bend) in the rope, with the working end on the top and the tail on the bottom. Take the working end of the rope and pass it up through the bight, then around the standing part of the rope, and back down through the bight again. Finally, tighten the knot by pulling on both ends of the rope. |
Running BowlineA running bowline is used to provide a choker type loop at the end of a single line. To tie a running bowline knot, start by forming a small loop with the working end of the rope, with the tail of the rope on the bottom and the loop on the top. Next, take the working end of the rope and pass it up through the loop, then around the standing part of the rope, and back down through the loop. Finally, tighten the knot by pulling on the standing part of the rope. |

